Cart
There are no more items in your cart
Marijuana for Vaping
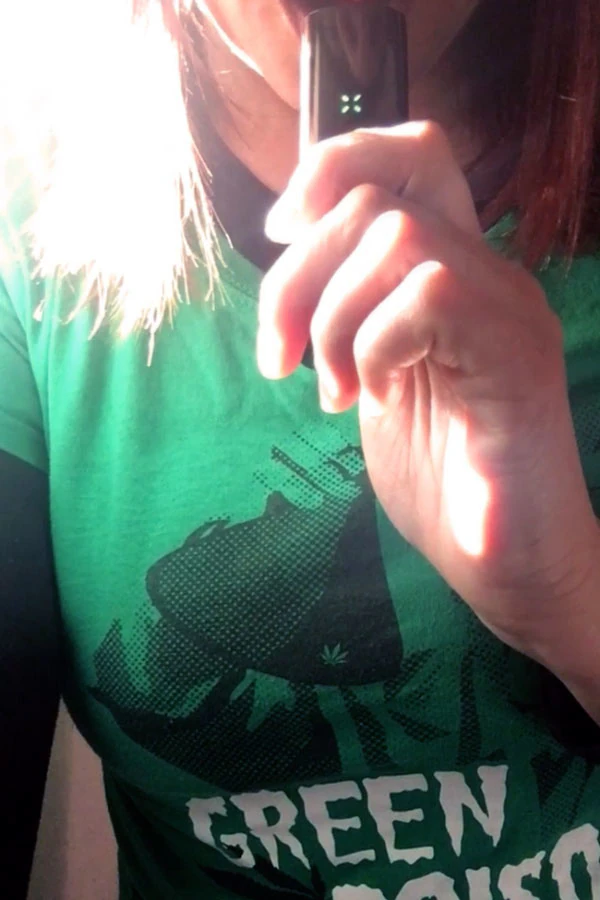
Vaping or smoking, that is the question. Without a shadow of a doubt, vaping homemade marijuana is a cleaner and purer way to inhale cannabinoids. Vaporizers release cannabinoids and terpenes through heat, whether by convection, conduction, or a combination of both, producing vapor that can be inhaled without combustion.
To vape marijuana at home, all you need is a vaporizer and some dried buds. You might also opt for an extract, or perhaps you’d prefer to use cannabis “e-liquid,” which is commonly used in pen-style vaporizers.
At Sweet Seeds®, we’ll tell you everything you need to know about vaporization, and we’ll also teach you how to make your own e-liquid of marijuana for vaping.
Keep reading to learn more about this topic!
What is Marijuana-Flavored Vape Liquid?
Marijuana-flavored vape liquid, or e-liquid, can contain either THC or CBD (both combined with terpenes), and its base is typically made of propylene glycol (PG) or vegetable glycerin (VG).
- Propylene Glycol (PG): It’s a colorless and odorless organic compound. Its low viscosity makes it easier to load cartridges and clean vaporizers.
- Vegetable Glycerin (VG): Typically derived from plant-based oils such as palm, soy, or coconut, VG is also odorless but has a slightly sweet taste. It is more viscous than PG, making vaporizer cleaning more challenging, but it produces a denser and more enjoyable vapor when vaping marijuana at home.
Natural or artificial flavorings can be added in any preferred taste (fruity, mint, caramel, etc.), and specific terpenes can also be included to replicate the aroma and flavor profile of a particular cannabis strain. The e-liquid is placed in the vaporizer chamber and heated to temperatures between 90°C and 200°C. For proper THC vaporization, the device should be set to at least 157°C. CBD requires higher temperatures, typically between 160°C and 180°C or more.
Advantages of Making Your Own E-Liquid
Some might argue that nothing compares to smoking or vaping cannabis in bud form, but the truth is that vaping your own e-liquid comes with many other benefits. Keep reading to discover them all.
Greater Satisfaction
Have you ever tried marijuana gummies? For those familiar with the pleasure of enjoying these edible treats, the satisfaction of vaping marijuana is quite similar. Preparing your own e-liquid (just like making your own cannabis edibles) adds an extra level of enjoyment that you won’t find in any store.
Quality Ingredients
Every time you inhale your vaporized marijuana, you’ll know exactly what you’re consuming. A store-bought e-liquid could be contaminated, contain harmful additives, or be made from flowers treated with pesticides.
More Affordable
You can make e-liquid using your own buds, and the remaining ingredients can be purchased in bulk. This way, you ensure quality and composition, making it a much more cost-effective option than buying pre-made e-liquids.
How to Make Your Own E-Liquid of Marijuana for Vaping
Now that you know the benefits of making your own e-liquid, you’ll probably want to get started. There are several methods to do this, so let’s go over each one of them so you can choose the best option for you:
Rosin Extraction
This is the cleanest and fastest method. If you have resinous flowers, this is the ideal extraction technique.
Ingredients and Materials:
- Dried or fresh cannabis flowers.
- Hair straightener or a Rosin press.
- Parchment paper and a special Rosin filter.
- Glass or silicone vial.
- Syringe.
- Terpenes or natural flavorings if you want to enhance the aroma and flavor.
- Toothpick or metal rod.
- Lighter.
Procedure:
- Choose the most resinous buds. If you have a filter mesh, place the buds inside, then wrap them in parchment paper like an envelope.
- Set the hair straightener to 121°C and firmly press the wrapped buds, allowing the resin to seep out. Hold the pressure steady until the resin stops flowing. Open the parchment paper, and you’ll find the extracted Rosin. If you have a Rosin press, the process will be easier, and the results will be significantly better.
- Place the parchment paper with the Rosin in the refrigerator for 20 minutes. Then, remove it and scrape the chilled Rosin using a thick toothpick or a metal rod. Transfer the Rosin into a glass vial. To enhance its organoleptic properties, you can add drops of terpenes or a flavoring of your choice. However, if you’re using high-quality flowers, this step isn’t necessary and will provide a better user experience.
- The next step takes about 5 seconds. During this time, heat the vial with a flame underneath while stirring the Rosin with the flavoring to form an oil. Alternatively, heat it until the mixture starts to bubble. Be mindful: if you heat it for too short a time, the ingredients won’t mix properly; if you heat it for too long, volatile terpenes will degrade, and there’s a risk of the vial breaking. As soon as you notice bubbling, remove the flame and stir the mixture with a toothpick or metal rod.
- Draw the mixture into a syringe and inject it into your vaporizer cartridge.
Keep in mind that these final steps are unnecessary if you plan to consume Rosin using a different type of vaporizer or a glass pipe, in the form of a Dab.
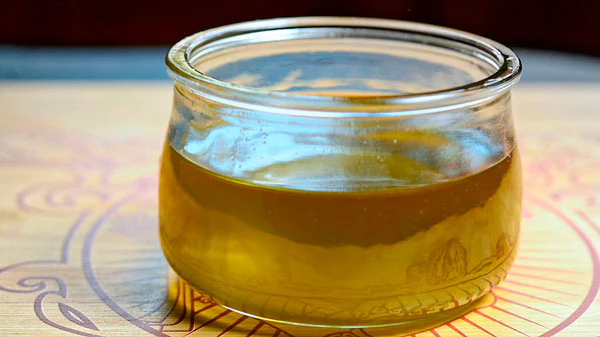
Vegetable Glycerin (Short-Term Method)
This is an easy method to instantly obtain e-liquid for your vaporizer.
Ingredients and Materials:
- Fresh cannabis flowers.
- Food-grade vegetable glycerin.
- Vegetable oil.
- Small oven-safe glass dish
- Large oven-safe glass dish.
- 2 glass jars.
- Stove.
- 2 thermometers.
- Strainer.
- Cheesecloth or muslin cloth.
- Rubber spatula.
- Metal spoon.
Procedure:
- In the small oven-safe glass dish, carefully break the flowers into small pieces with your hands. Add a small amount of vegetable glycerin to the dish and stir. Continue adding small amounts of vegetable glycerin until the bud pieces are fully saturated.
- In the large dish, pour enough vegetable oil to submerge the base of the small dish by about 2.5 cm. Heat the oil in a plate and insert a thermometer into it. Heat the oil to approximately 104°C.
- Place the small dish into the hot oil and insert the second thermometer into the vegetable glycerin mixture with the broken-up buds. To dissolve the cannabinoids into the glycerin, heat the mixture to about 82°C. Stir frequently, ensuring the temperature remains steady at 82°C.
- Remove the small dish and let it cool for a few minutes.
Place a strainer over one of the glass jars and filter the mixture. Use a silicone spatula to press the buds left in the strainer, extracting as much liquid as possible. Repeat steps 2 and 3 twice, using fresh vegetable glycerin each time to extract the maximum amount of THC. - Once all three batches of liquid are collected in the jar, you need to purify your e-liquid. Place a clean, dry strainer over another clean glass jar and cover it with about four layers of cheesecloth. Pour the liquid through the filter, collecting it in the jar. Use the spatula to squeeze out any remaining liquid.
- As a final step, use a syringe or dropper to load your vaporizer cartridge with your ready-to-use e-liquid!
Vegetable Glycerin (Long-Term Method)
This method is simple, but you’ll need a bit more patience to complete it.
Ingredients and Materials:
- Cannabis buds.
- Food-grade vegetable glycerin.
- Heat-resistant Pyrex container.
- Aluminum foil.
- Baking tray.
- Oven.
- 2 airtight glass jars.
- Metal spoon.
- Strainer.
- Silicone spatula.
- Cheesecloth.
- Freezer.
Procedure:
- Break the buds into small pieces using your hands or scissors (not a grinder). Avoid making them too small to prevent plant material from passing through the filtration process.
- Place the buds in a glass jar. Add a small amount of vegetable glycerin and stir. Keep adding vegetable glycerin until the mixture becomes thick and clumpy. Observe carefully and stop mixing just before it becomes too liquid and diluted. Seal the jar, label it with the date, and store it for one month.
- After one month, open the jar and stir the mixture. Add one tablespoon of vegetable glycerin, stir again, and store it for another month. Repeat the process once more.
- After the third month, use a spatula to mix the preparation and strain it into another glass jar. Clean the strainer and the first jar, then cover the strainer with four layers of cheesecloth and filter the e-liquid back into the original jar. Use the spatula to squeeze out any remaining liquid.
- As the final step, use a syringe to load the e-liquid into your vaporizer cartridge.
At Sweet Seeds®, we Prioritize Safety
Handling oils at high temperatures can be very dangerous, so it must be done with extreme caution. Making these liquids requires your full attention and responsibility.
To fully enjoy the benefits of making your own e-liquid of marijuana for vaping, always ensure that you use food-grade products with the proper certifications. At Sweet Seeds®, we strive to provide you with all the information you need to use cannabis-related products responsibly and to be aware of all the precautions you should take so that you always have The Sweetest Experience.
Sweet Seeds S.L. is not responsible for any misuse of the information provided in this article. Growing Cannabis may constitute a criminal offense or administrative infraction; please check the Cannabis legislation applicable in your place of residence. Sweet Seeds S.L. does not, under any circumstances, intend to promote illegal practices.

Deputy Director of the Content and Image Department at Sweet Seeds®.
Articles by Jaypp (see all)
- How to Use Bat Guano in Cannabis Cultivation - 25 de February de 2026
- Growing Marijuana Indoors with LED Lights - 26 de September de 2025
- Differences Between Cannabis Indica and Cannabis Sativa - 26 de September de 2025